Sunday, April 20, 2014

Step by step

Day by day (day by day)... anyone remember that show? No one? C'mon...

Anyways, we had to replace the bottom (first) stair of our staircase because of a certain striped animal in our house. 

Here's a list of supplies:
  • carpet pad (we are very fortunate and got it from a friend- thanks Kyle!)
  • carpet (*found a very small remnant at Home Depot)
  • staple gun (we rented an electric one from Home Depot)
  • work gloves (there are a lot of nails and staples that'll stab you)
  • tack strip
  • nails
  • carpet trimming knife (we used an x acto knife)
  • carpet tucker (we actually used a putty knife)
  • stair tread
  • hammer
  • cat's paw (this is a real tool which I thought was really cute and we borrowed it from a friend- thanks Chris!)
  • knee kick (we rented from Home Depot but we ended up not really needing it)

Step one: Put on gloves and remove the carpet from the riser.


BEFORE


Step two: Take your hammer or cat's paw (if the nails were driven extra deep) and remove the nails from the riser. We had to use the cat's paw. Pull really hard to remove the riser completely.

Ew

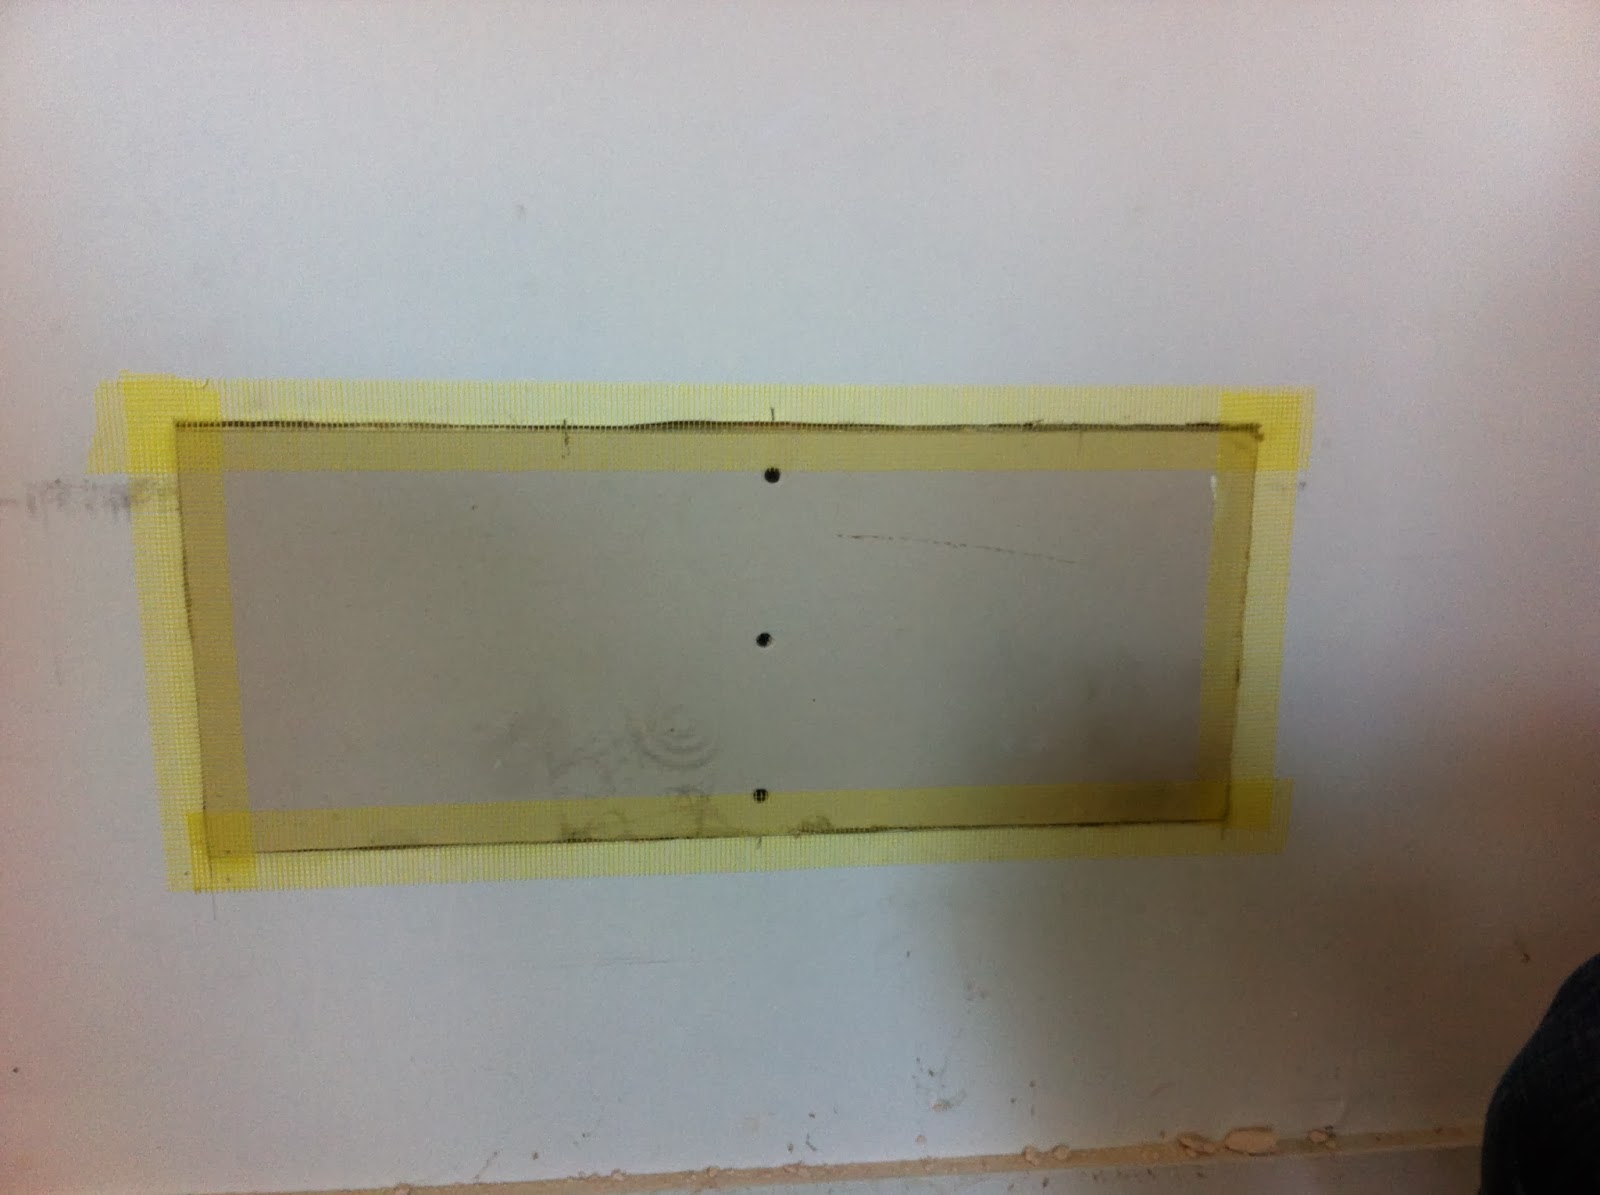
Step three: Place your new riser onto existing frame using your hammer and nails.


I forgot to take a picture of the new riser but here's one with foil on it to protect it from previously mentioned striped animal.


Step four: Place tack strip approximately 1in away from the next stair. Use your hammer and hammer in the larger nails. Make sure to not hammer the small tacks.


Step five: Using your utility knife cut carpet pad to size (to fit the tread) and using staple gun staple into place. Do not place pad on tack strip.


Step six: Using your utility knife cut carpet to fit sides, bottom and top of riser. We did a cap-and-band style on this stair due to the carpet not being long enough to do the waterfall style (like the rest of the stairs are in) but we figured since it was the bottom stair it didn't really matter. Using your staple gun staple the heck out of the carpet. Using your carpet tucker (or in our case putty knife) tuck carpet into the the crease behind the tack strip and smooth out carpet.


And here is the finished product....


We think it looks pretty good for a first time. Craig and I really enjoy working together on projects and it makes it a lot more fun! Quite a few Youtube videos were watched and it was difficult to find any where just the bottom stair was being replaced. Total cost= $60.00

*Carpet remnants are typically sold in LARGE sizes (11x15ft). We only needed approximately 3 1/2x6ft. It was difficult to find and we were afraid we were going to have to replace all the carpeting but we thankfully found a similar color in a small size.

Friday, January 17, 2014

Dry(wall) humor

I was on a roll for a while with blog posts and have severely slacked. No excuse except we stopped on house projects for a while. We have been thinking about moving so need to fix up a few things. Hopefully more posts to come...

So you know when you pull into your garage when you're in a hurry and you run your car into a wall?


Our garage looked like this for the last three years or so. We have a shorter-than-usual garage as it is and when you're in a hurry sometimes you can get careless. We had to patch this good-sized hole with new drywall. Here are the supplies needed:
  • scrap drywall (thanks Kevin and Adrienne)
  • sanding block (an electric sander would work best)
  • drywall tape
  • utility knife
  • drywall spackle (thanks Ken and Chris)
  • spackle knife/putty knife
  • yard stick/measuring tape
  • pencil
  • drywall screws
  • screwdriver
  • 1x1 scrap piece of wood (*if needed)
Step one: Measure the piece of drywall that needs to be cut out. Measure approximately 2-3in bigger than the original hole. Use a pencil to mark the piece to cut.


Step two: Use the utility knife to cut out the damaged drywall piece.


What it should look like (straighter if you're more experienced)

Step three: Take your piece of scrap drywall and measure to fit.


Step four: Use the utility knife to cut out the appropriate sized piece of drywall. Make sure the piece fits snugly prior to screwing it into the stud or using the piece of 1x1 scrap wood.


Step five: We were fortunate and there was a stud already in place, but if there isn't take a scrap piece of 1x1 wood and a screw to make a make-shift stud. Then take your piece of drywall and use three screws to attached the drywall to the stud.


Step six: Use drywall tape and cover any gaps all the way around.


Step seven: Mix drywall spackle (follow instructions on package) in a spare container (we had a clean old cat litter box) and apply using a spackle knife.


Step eight: Let dry for an hour or two then take your sanding block (or your electric sander) and sand smooth (or as smooth as possible).


Step nine: Paint wall- we are still deciding if we're going to do this step since it was just in the garage. Also as you can see there are other holes (which were there when we bought the house) so we're not sure if it is worth it.

Total cost= $15.00

Moral: Don't be dumb like me and make a hole in the wall with your car. Or else you end up with a tennis ball hanging from the bike rack.


Saturday, June 22, 2013

Finito!


This is just a short post on the finished product that is the upstairs bathroom. I'm so bad about taking "before" pictures, but trust me, it was pretty 90's looking. Honey oak builders grade vanity, builders grade frame-less mirror, and hollywood vanity lights. Wah-wah.

These colored cabinets/vanity


Turned into: 


See how I stained this vanity here


This mirror: 


Turned into: 


See this transformation here


And these lights: 

Turned it into:


 Finito:

lights off

lights on

Total cost= $110.00. We bought the light fixture and hardware, the frame only cost us $25.00 to make and we had all the supplies to stain the vanity. So there you have it, our mini-guest bathroom-makeover!


Sunday, June 2, 2013

We were framed

Well, we weren't framed, but I did frame the large mirror in the upstairs bathroom. For a couple years I've been looking at this website. You just measure your plain builder's grade mirror, fill out the dimensions form, submit, pay and viola! However, I couldn't bring myself to pay over $150.00 for a frame so the mirror sat plain and boring, until now...

This is what it looked like before.


There are these little clips that hold the mirror in place. They were pretty flush with the mirror but it could have been better. I read on multiple blogs you can replace the clamps with washers. I just mounted the frame directly onto the mirror without removing the clamps.


Here is the list of supplies needed:

  • Moulding (I used pine baseboard moulding and got it cut at Lowe's for free)
  • Liquid Nails (make sure it is the kind that says it is for mirrors)
  • Miter saw and box (if you have an electric one I envy you)
  • Paintable caulk
  • High grit sandpaper (I used 220 grit)
  • Frog tape
  • Paint or stain
Step One: Measure the width and length of the mirror and add 5-6 inches (you need to measure longer to account for the angle cuts)


 Step Two: Sand every piece of moulding and wipe down.


Step Three: Use miter box and saw to begin cutting the 45 degree angles. You get a pretty sweet arm workout doing this.


*Make sure it fits together and also will fit onto the mirror*


Step Four: Paint or stain both sides of the moulding (both sides are needed since it will be "glued" to the mirror and you can see the back side of the moulding in the reflection). I didn't get a picture of this part because it is pretty self explanatory. I applied two coats of stain and one coat of gel topcoat after waiting the appropriate time between coats.

Step Five: Load Liquid Nails into a caulking gun and apply a light coat onto the backside of the moulding.


Step Six: Very carefully put up one piece of moulding at a time. You can also glue the frame together first and then put the whole dang thing up. I tried this and got glue all over the frame (after I had stained it) and it was a disaster. But I'm not great at this so someone else will probably have more luck.


Step Seven: At this point if you need you can apply paintable caulk to the seams. I fortunately did not need to do this step.


Step Eight: Use Frog Tape to help hold frame into place.


I waited 48 hours prior to removing the Frog Tape just to make sure the frame would hold and there you go! A "custom frame" for about $25.00. All I had to buy was the Liquid Nails ($2.00), sandpaper ($3.50), miter box & saw ($8.00), and moulding ($11.00). I had the stain, paintable caulk and Frog Tape at home.

BEFORE
AFTER